Run Your Test Locally
Why Run Tests Locally?
Running tests locally via the CloudQA Chrome Extension provides several advantages:
- Environment parity: Your local setup mirrors production or development environments for consistent results.
- Faster iterations: Skip cloud queue delays and see immediate feedback.
- Better debugging: Use Chrome developer tools and debug popups for quick issue resolution.
- Access to local resources: Essential when your app relies on internal APIs, databases, or VPN networks not accessible remotely.
Step-by-Step Setup & Execution
1. Install the CloudQA Chrome Extension
- Go to the CloudQA Chrome Extension page.
- Click Add to Chrome and confirm the installation.
- The CloudQA icon will appear in your Chrome toolbar.
2. Log In to Your CloudQA Account
- Click the CloudQA extension icon in Chrome.
- Log in with your CloudQA credentials.
- Ensure you have access to the test cases you want to run locally.
3. Select a Test Case for Local Execution
- Click the CloudQA extension icon → Test Cases tab.
- Browse or search for the desired test case.
- Click Run Locally to start execution.
Usage Scenarios
- Incognito Mode: UUse this to start a fresh, temporary session without cached data, cookies, or saved logins.
Example: Testing a fresh login flow or verifying how your app behaves for a new user. - Non-Incognito (Regular Window): Use this if your test requires existing session data or cookies.
Example: Testing logged-in user scenarios without having to re-enter credentials every time. - Note: Make sure you don’t have any active incognito sessions
4. Enabling Incognito Mode for CloudQA Chrome Extension (Before Running Tests Locally)
- Open
chrome://extensionsin your Chrome browser. - Locate the CloudQA Chrome Extension.
- Click Details and turn ON the Allow in incognito option.
- Right-click on the CloudQA Extension in your browser and select Options.
- On the options page, you will find two configurable settings:
- Run in Incognito Window
- ✅ If checked → Tests will always launch in an Incognito window.
- ❌ If unchecked → Tests will launch in a regular Chrome window.
- :white_tick: Choose based on your requirement.
- Time delays (ms-microseconds)
- Adjust your time delay if you want your execution to be slower. In case something is impacting your execution speed, it could be that your internet, system resources, application, or vpn is slow .
- Increasing the delay ensures that steps have enough time to execute reliably.
- Run in Incognito Window
You can now quickly run test cases directly in your local browser using the Run Locally feature on the Edit Test Case page.
Steps to run locally:
-
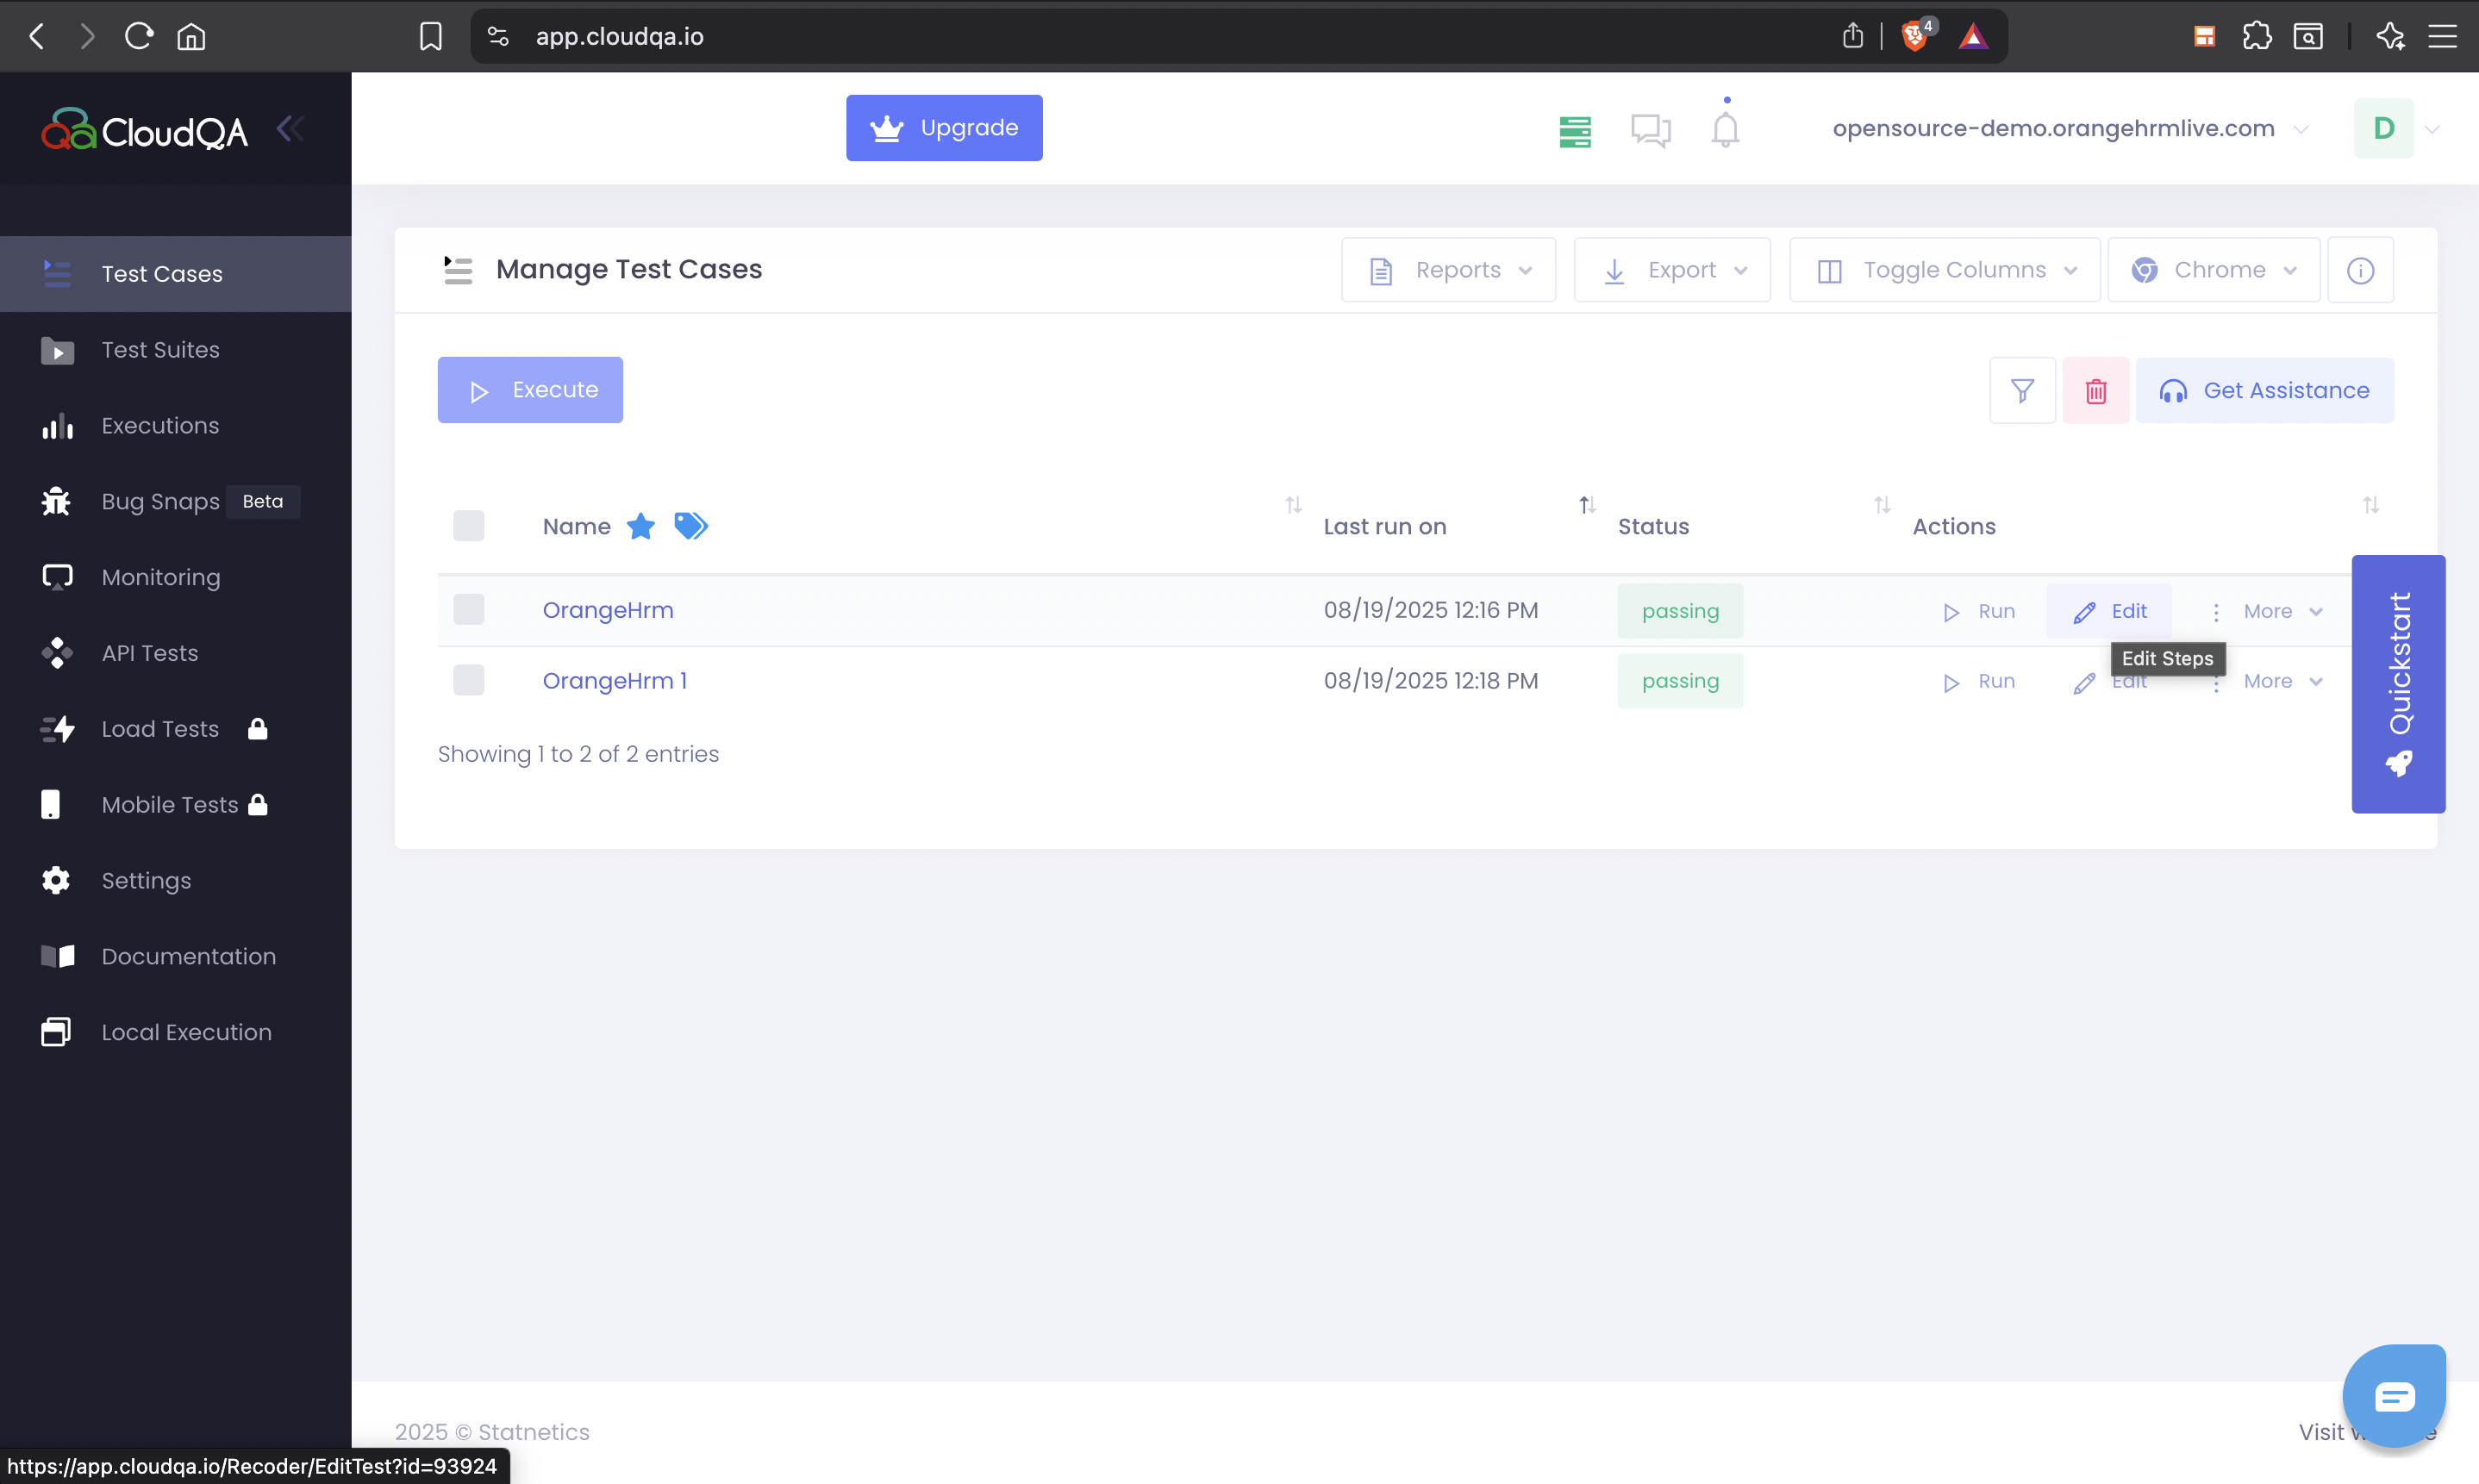
Navigate to Test Cases.
-
Click Edit on a test case.
-
On the edit page, click the Run Locally button.
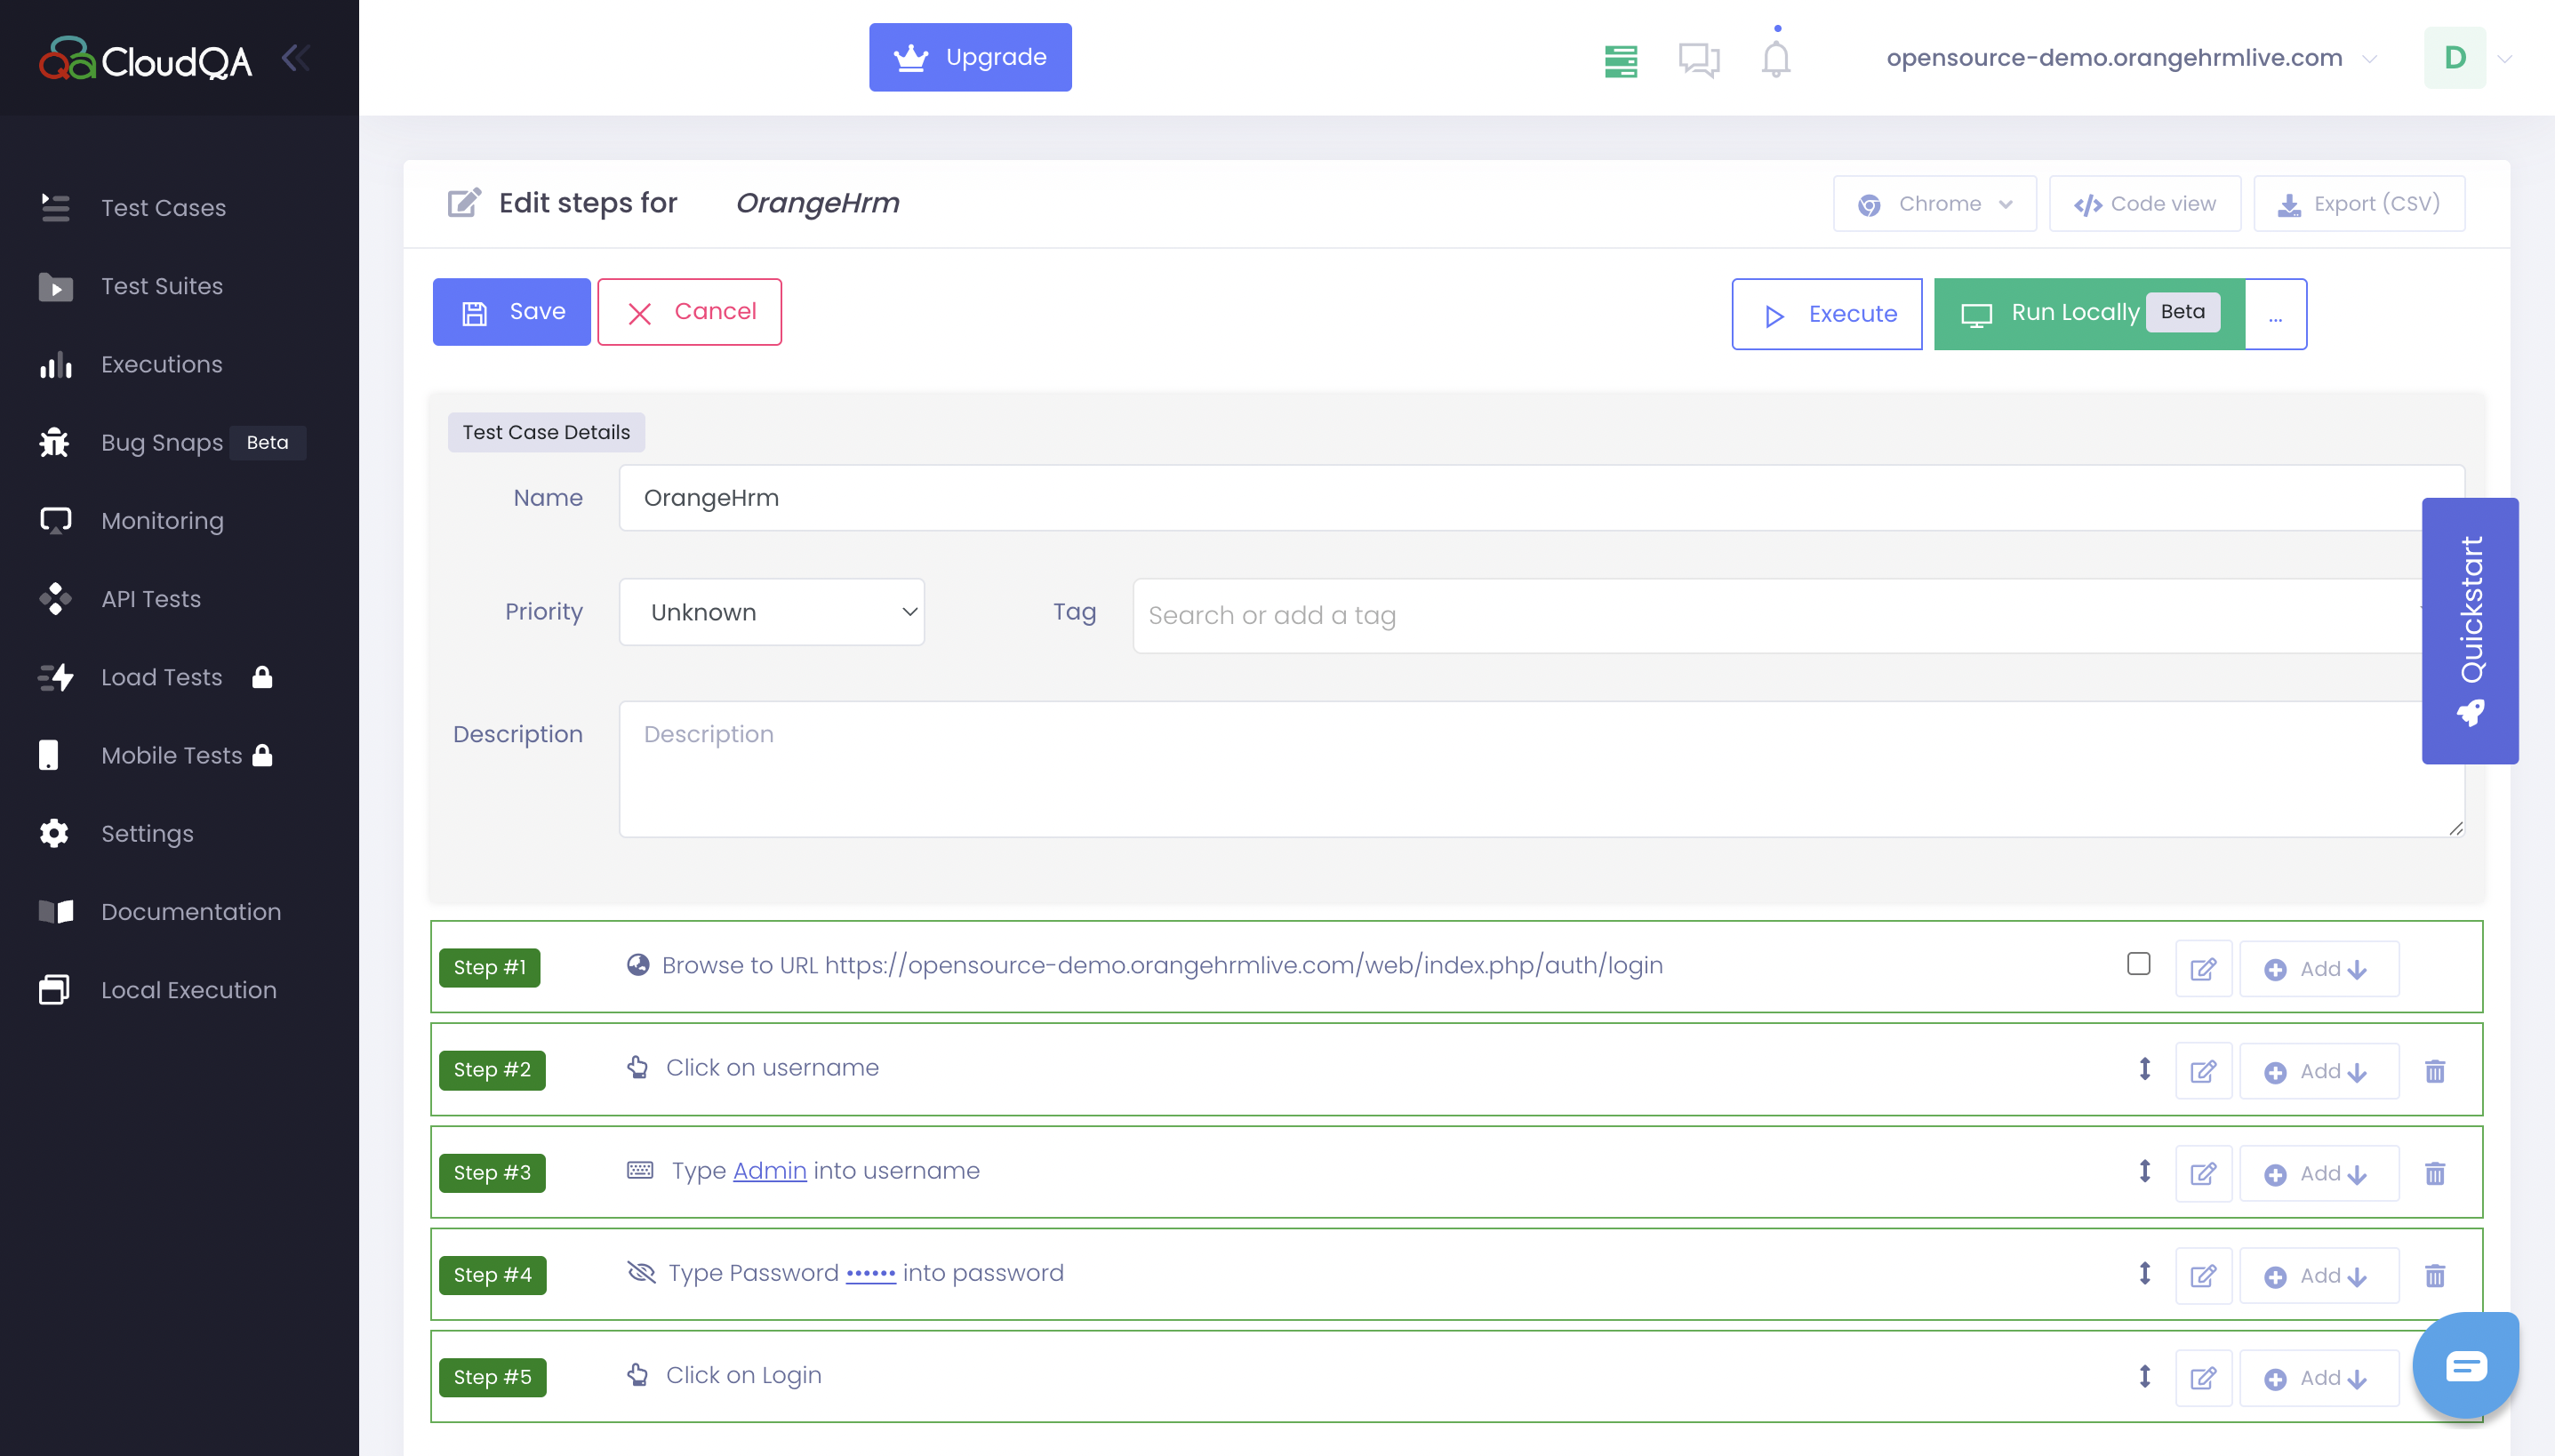
-
Once you click the Run Locally button, it will open up in an Incognito tab.
This approach is ideal for testing changes quickly without executing the full test on the cloud.
Notes
- Ensure Chrome has all required permissions for the extension.
- Avoid running multiple local executions in the same browser window simultaneously.
- Always save modifications to the test case after editing locally.