How to Run CloudQA Local execution on your Windows machine
How to edit your application details:
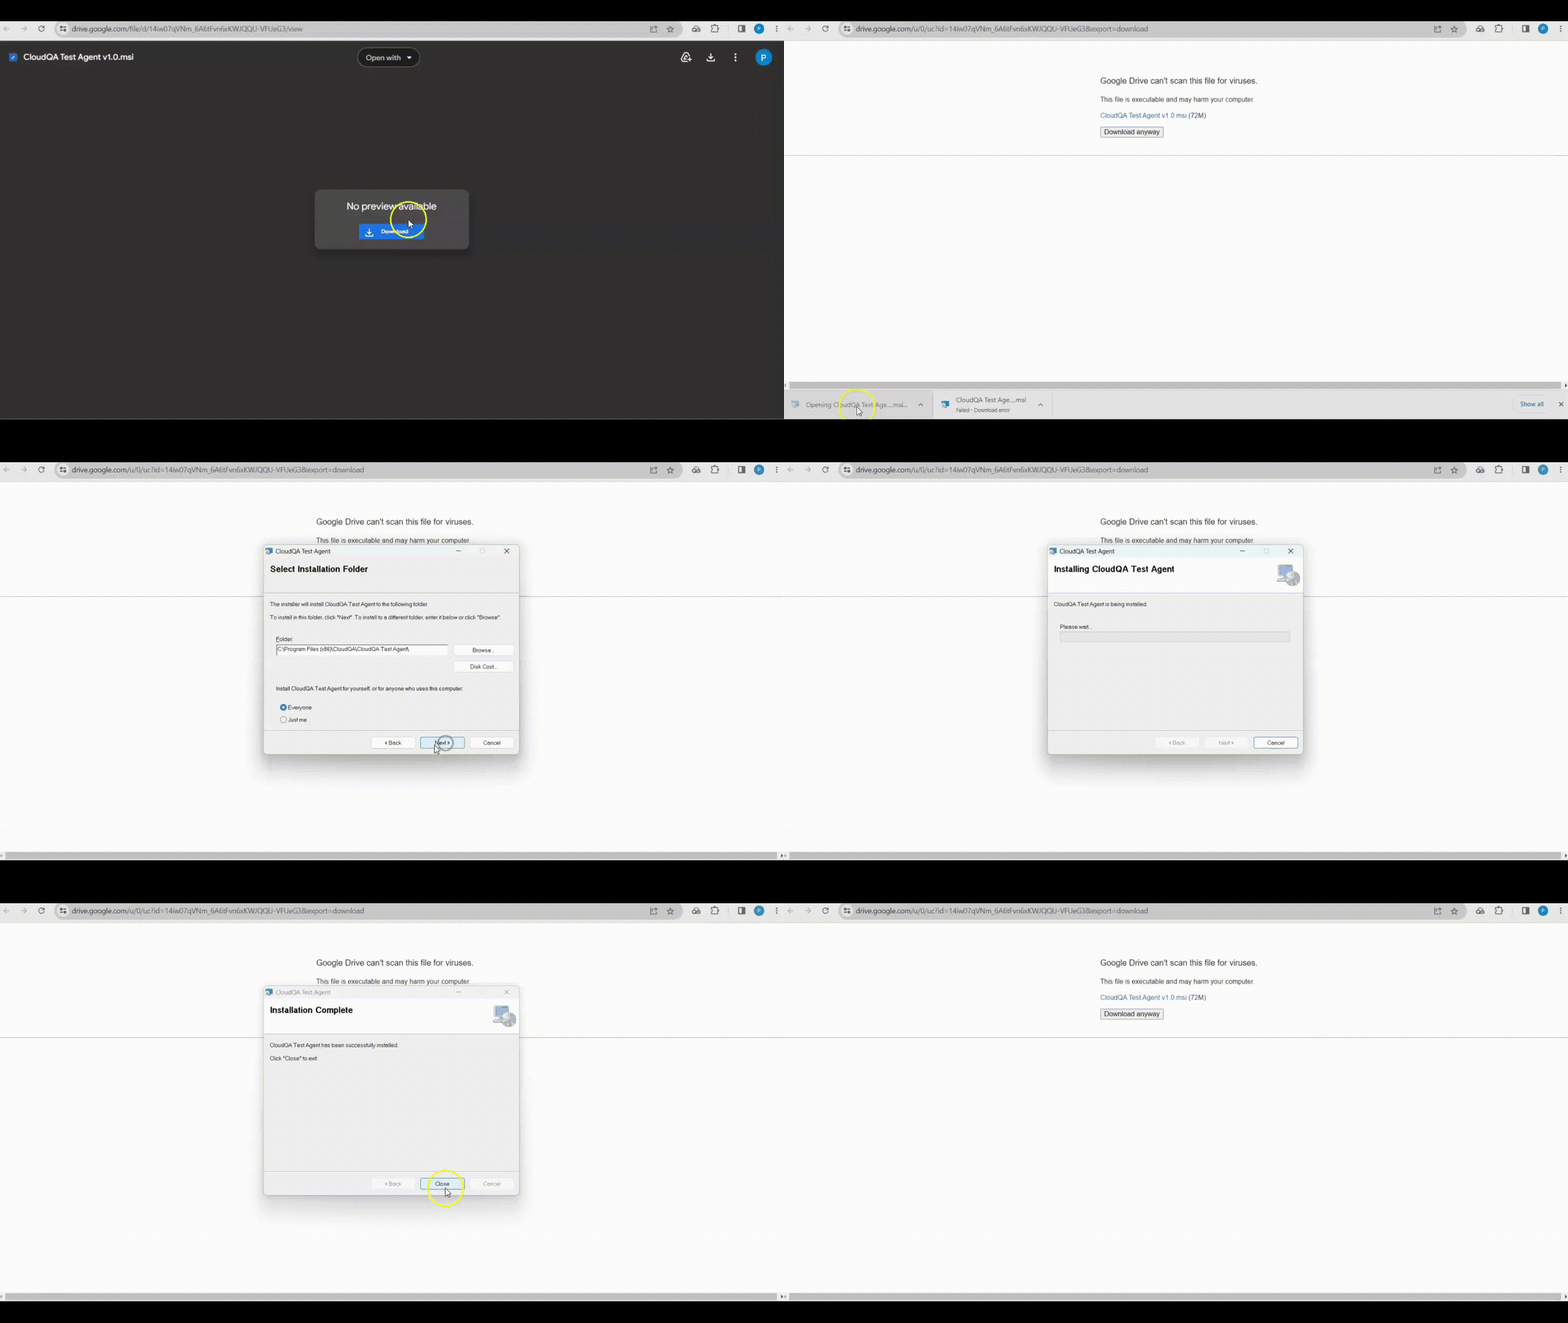
- Download and Install CloudQA Test Agent
- Access the CloudQA Test Agent file using the following link: Download.
- Download the file and run the installation wizard.
- Follow the on-screen instructions to complete the installation process.

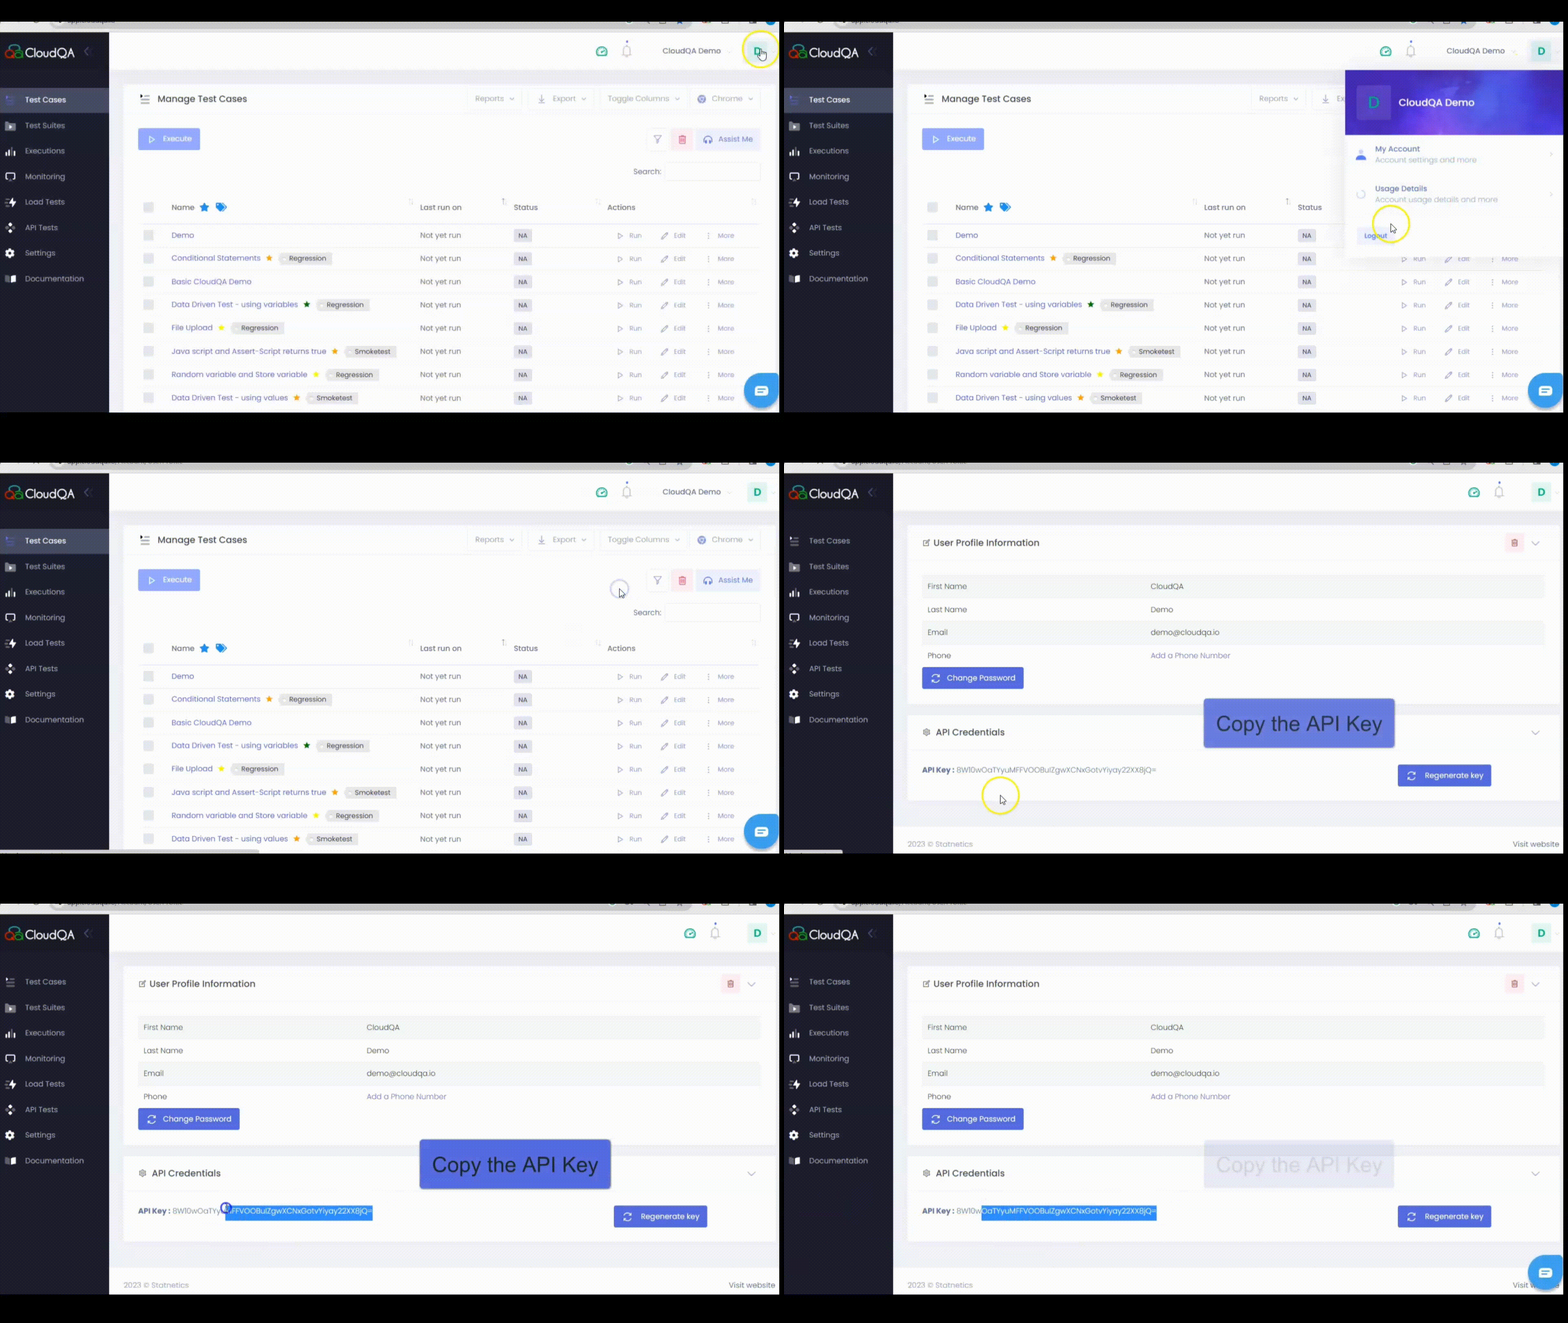
- Obtain the CloudQA API Key:
- Log in to your CloudQA account at app.cloudqa.io using your credentials.
- Navigate to the "My Account" section.
- Copy the API key provided in this section. You will need it in the subsequent steps.

- Add the CloudQA API Key to System Environment Variables:
- Search for and open "Edit the system environment variables" on your Windows machine.
- In the System Properties window, click on the "Environment Variables" button located in the Advanced section.
- Under the "User Variables" section, click on the "New" button.
- Enter "CloudQAAPIKey" as the Variable name.
- Paste the copied API key as the Variable value.
- Click "OK" to save the changes and close the windows.
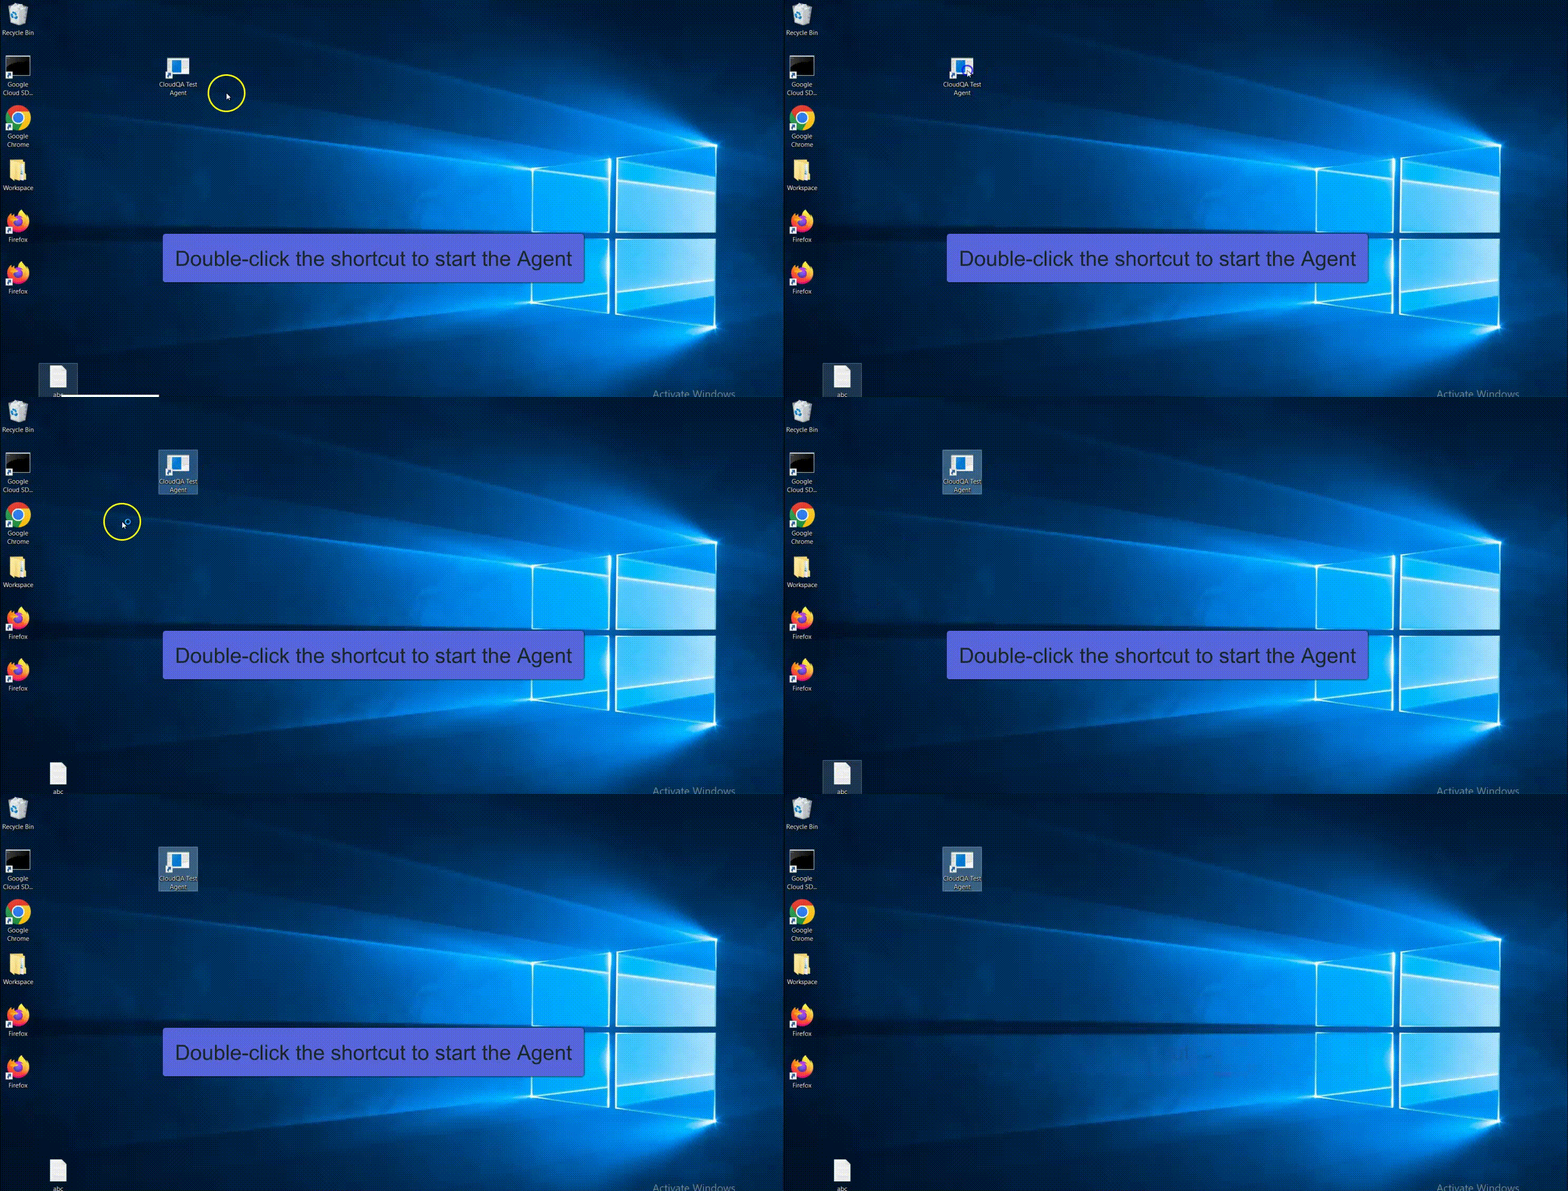
- Start the CloudQA Test Agent:
- Locate the CloudQA Test Agent shortcut on your desktop.
- Double-click the shortcut to start the Agent.

- Execute Test Cases Locally:
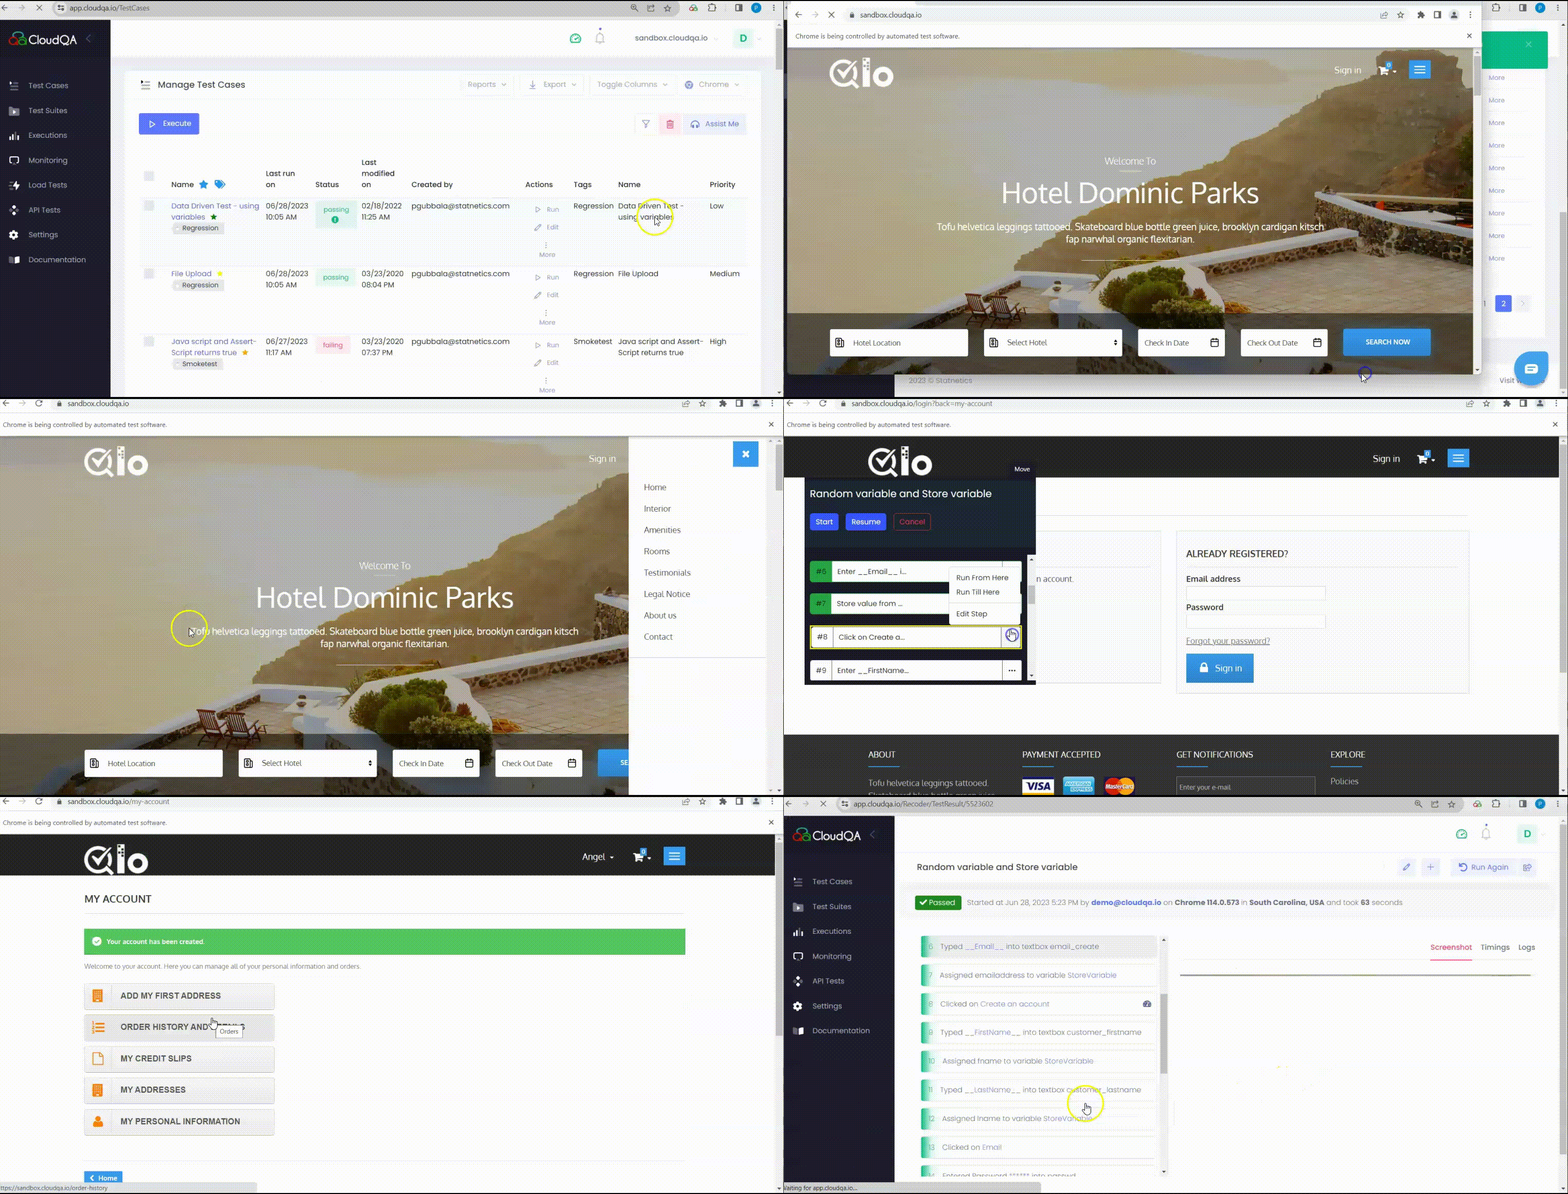
- Log in to your CloudQA account at app.cloudqa.io using your credentials.
- Navigate to the "Test Cases" page.
- Select the desired test case you wish to execute locally.
- Click on the "Run" button and select the "Local Execution" checkbox
- Execute the test case.
- A new Chrome browser window will open with a debug popup on your machine.
- Click the "Start" button within the debug popup to initiate the execution.

- How to work with Local execution debugger:
- Edit Test Step: During Local Execution in CloudQA, the "Edit Test Step" functionality allows you to make necessary changes to a specific step within a test case. If you encounter an issue or need to update a particular step, you can follow these steps:
- Identify the Step: Locate the step that needs to be modified within the test case being executed.
- Access the Edit Option: Click on the "More Options" button (usually represented by three dots) in line with the step you want to edit.
- Select Edit: From the drop-down menu that appears, select the "Edit" option.
- Update the CSS Path: If the CSS path associated with the step needs to be updated, you can use the "Pick CSS" option. Click on it, and then click on the desired element within the web page. The CSS path of the selected element will be copied to the clipboard.
- Paste the CSS Path: Go back to the step details, Paste the copied CSS path into this field
- Save the Changes: After making the necessary modifications to the step, click on the "Save" button to save the changes.
- Resume: The "Resume" functionality allows you to continue the execution of a test case from where it failed.
- Run From Here: The "Run From Here" functionality allows you to start the execution of a test case from a specific step, skipping the preceding steps.
- Run Till Here: The "Run Till Here" functionality enables you to execute a test case up to a specific step. When you have a long test case with multiple steps, you can use this option to run the test case only until a particular step.
- Edit Test Step: During Local Execution in CloudQA, the "Edit Test Step" functionality allows you to make necessary changes to a specific step within a test case. If you encounter an issue or need to update a particular step, you can follow these steps:
Is this article helpfull?
Tell us what we can do to improve the article
Sorry we are unable to collect your message currently. Please send using this page.